
Custom Authentication
Custom auth allows you to define a multi-step authentication process to support virtually any kind of API authentication.
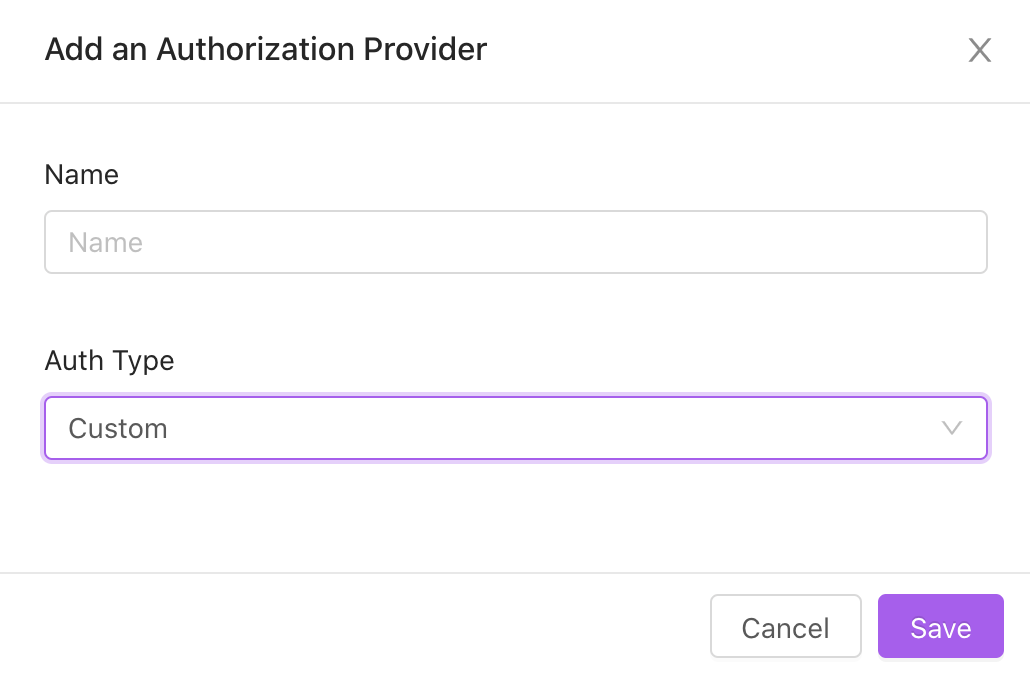
After you add and name a new authorization provider and select Custom as your auth type, click into the name of your custom auth to configure it:
To define your custom auth flow, you’ll create a series of steps that ultimately lead to sending over the final necessary credentials (through HTTP headers).
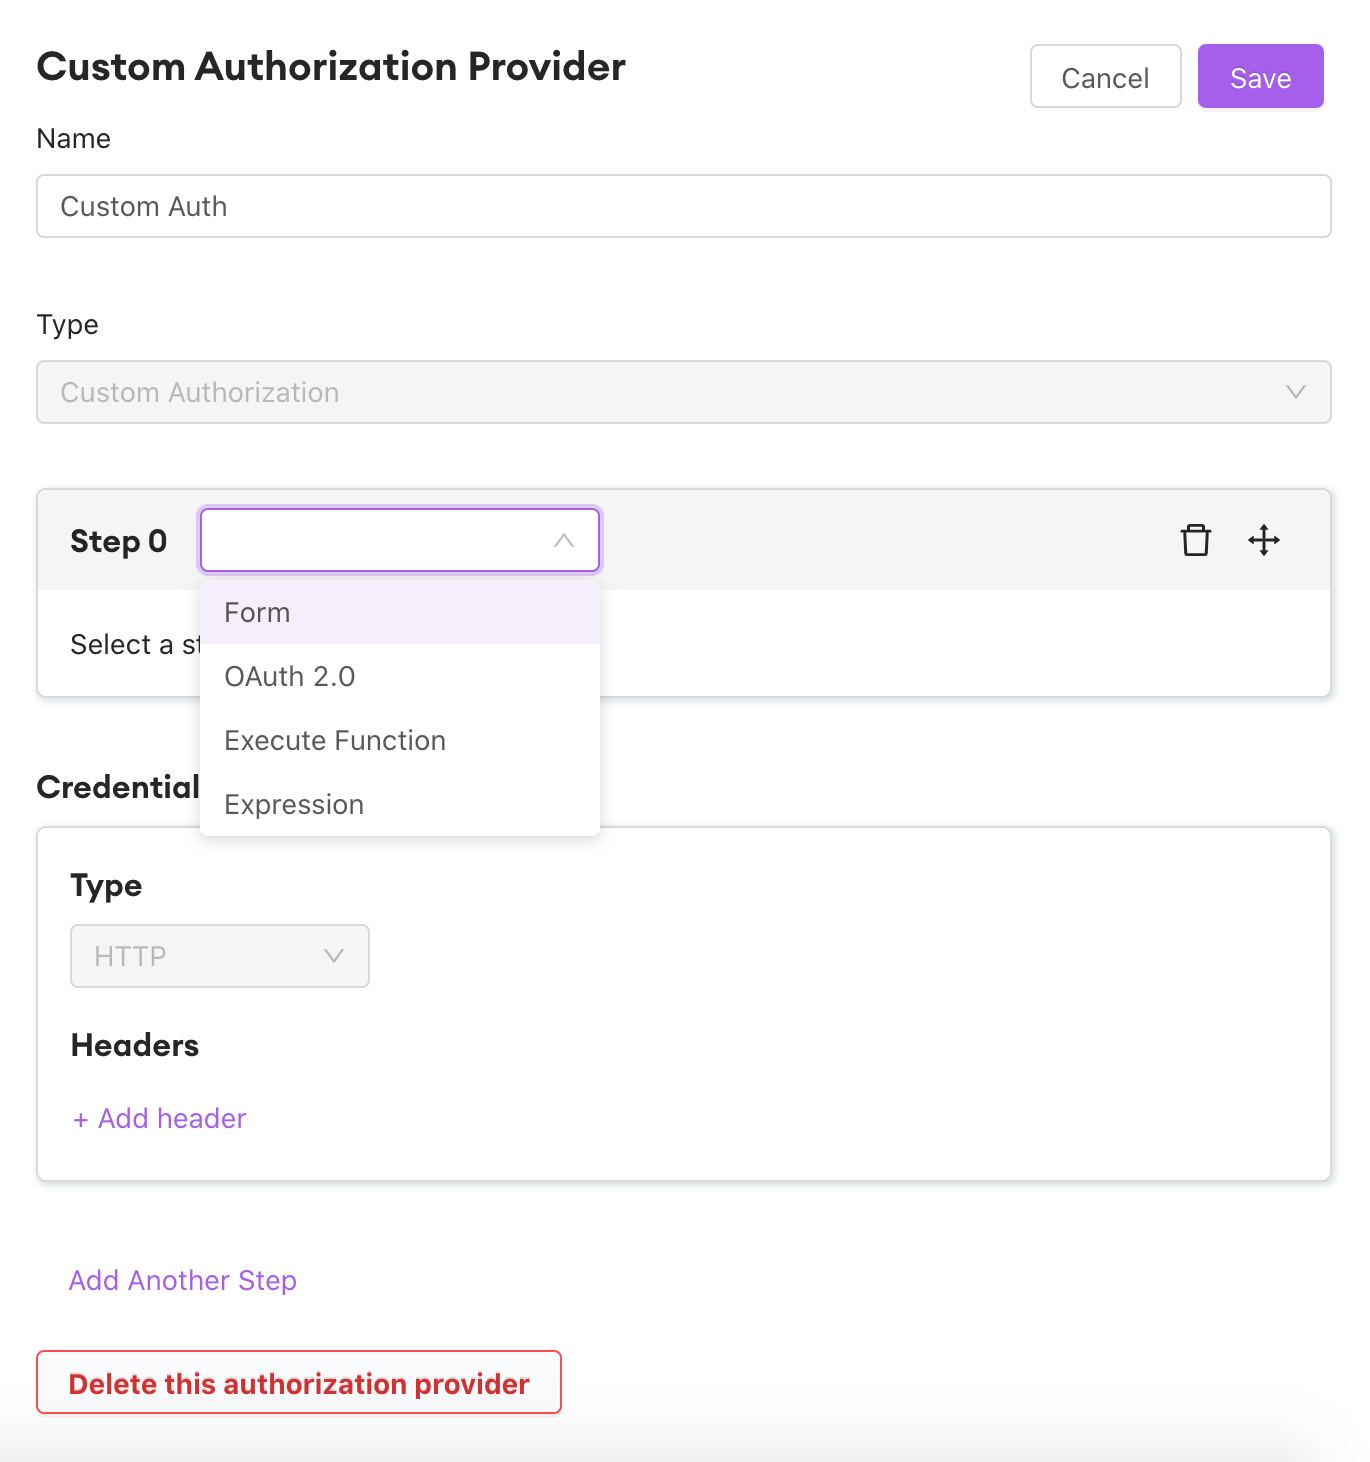
Click “Add Another Step” to add your first step - Step 0.
For each step, you select the type of step it is, and define the operation that’s performed during that step. The options are Form, OAuth 2.0, Execute Function, and Expression. Each step can utilize data that is defined or returned as a result of a previous step.
Form
This allows you to create a simple form for users to enter in inputs, shown when a user is required to authenticate.
Use the “+” to add a new field for the form. Each field has a Label and a Type - you can choose between a text input and password input (obscured input). Use the checkbox to indicate if this field is required.
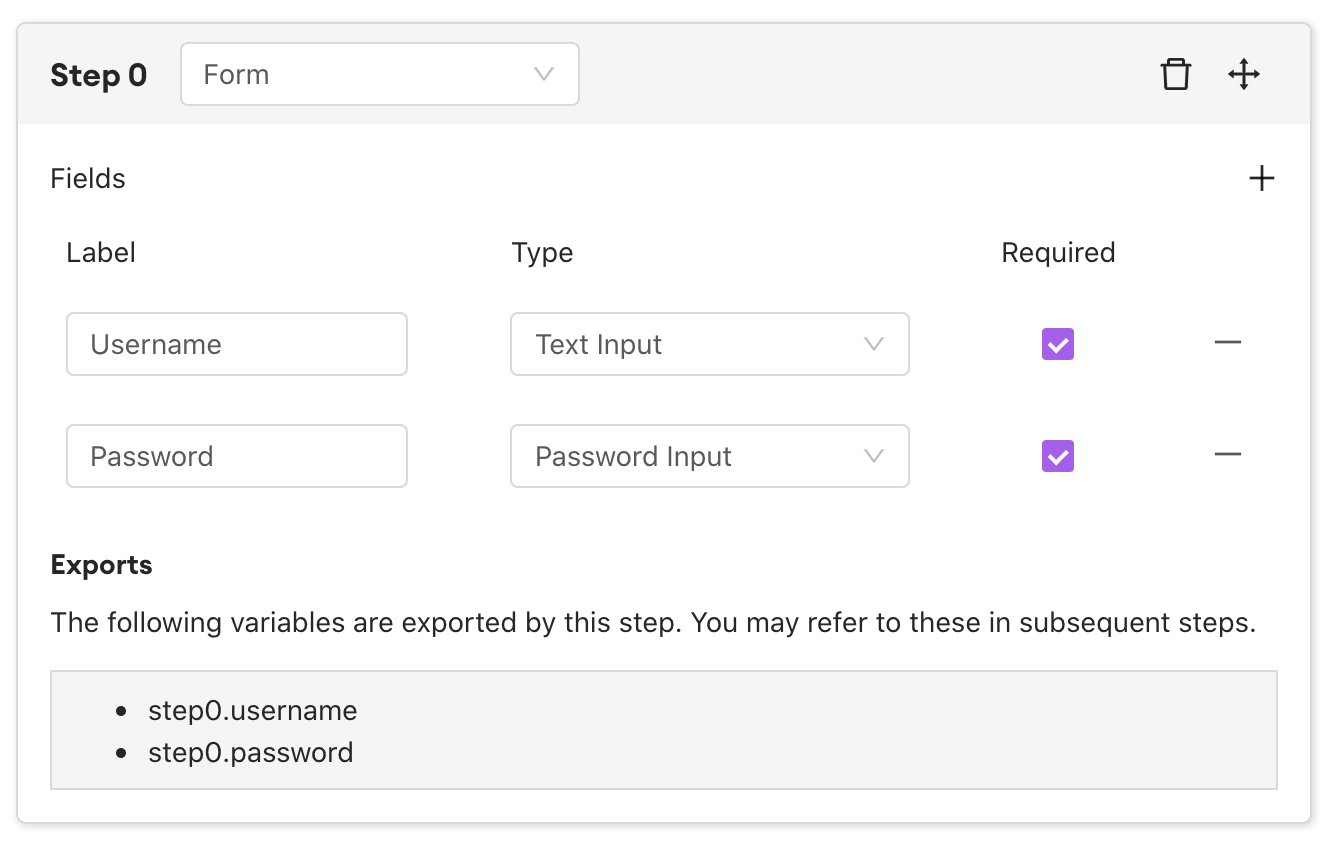
Once this form is completed by a user, you can reference the data stored within each field in later steps, using the step number and label. For example, if the form were in Step 2 and the field you wished to reference was called state, you would use step2.state.
OAuth 2.0
This step creates an authentication step where the user will log in using OAuth 2.0. You can fill in the details for your OAuth 2.0 implementation. Client Authentication allows you to send client credentials in the body (if needed) or to send as a Basic Auth header.
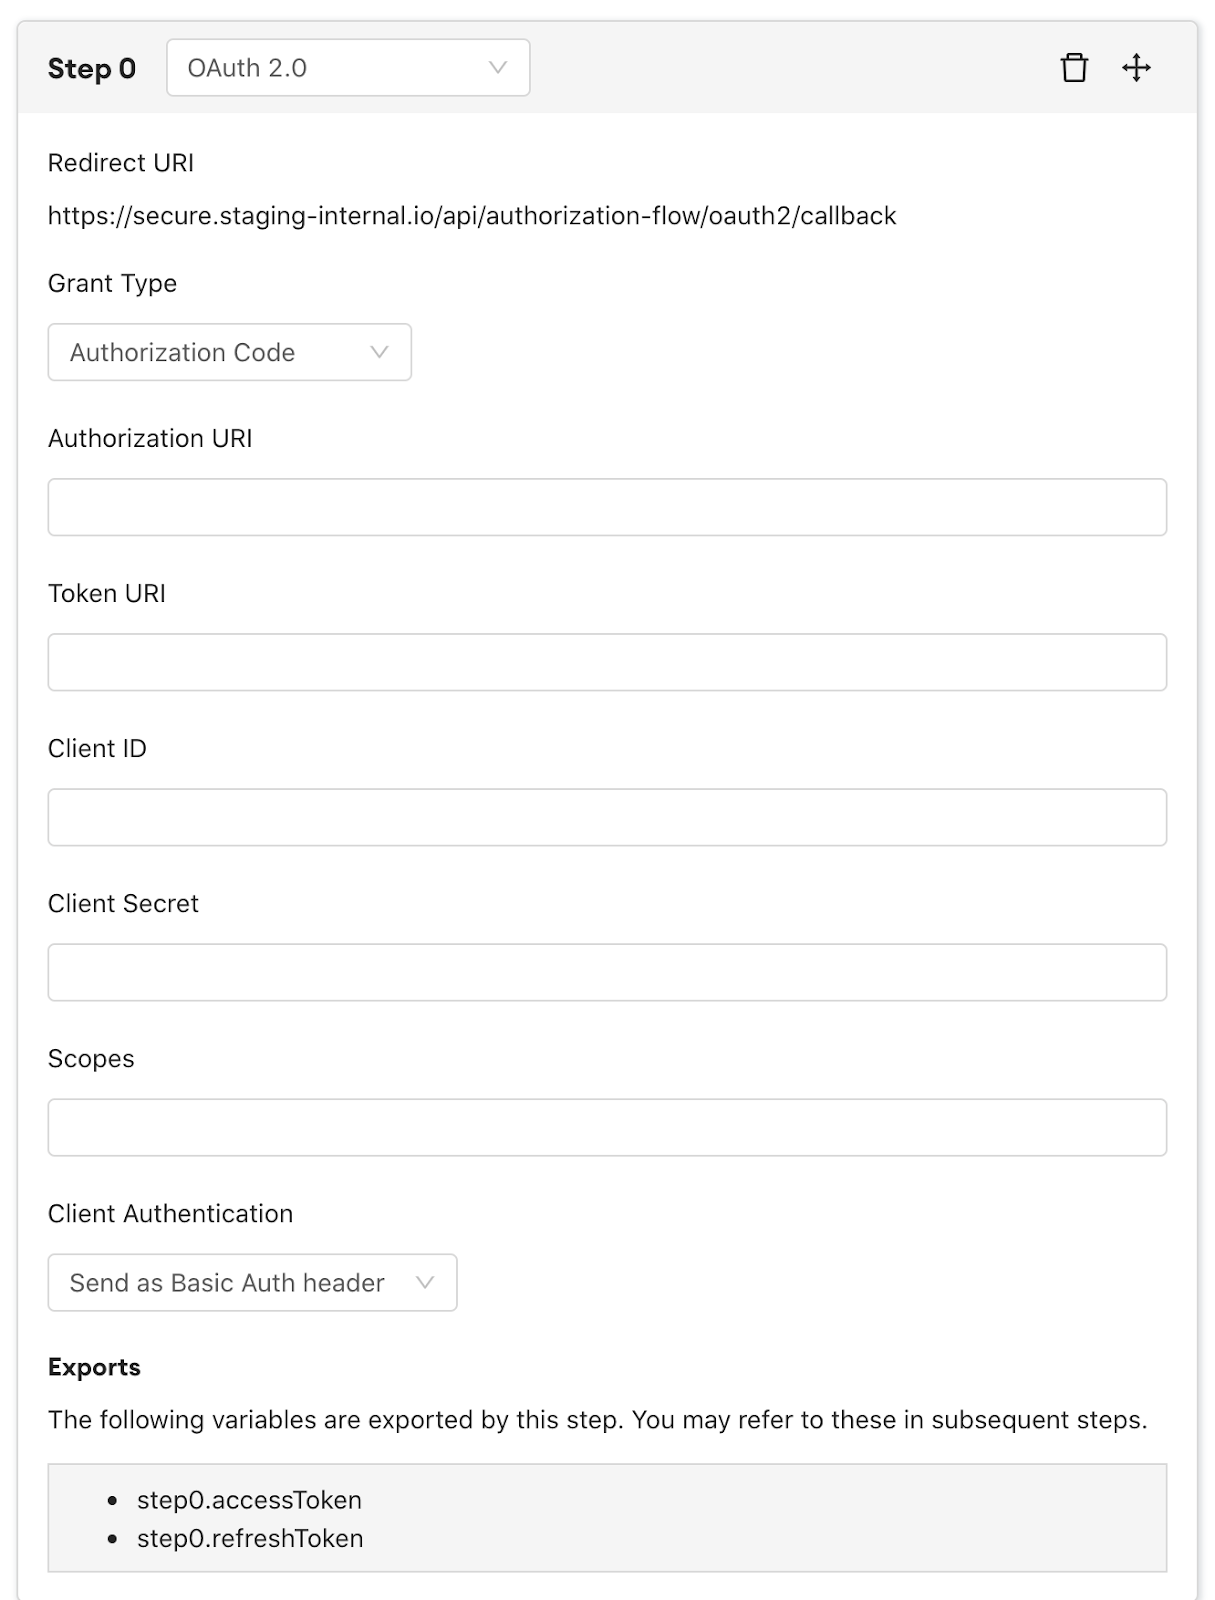
Once this step is complete, accessToken and refreshToken variables are exported for use in later steps, which can be referred to with step#.accessToken or step#.refreshToken.
Execute Function
This step executes a function within Internal. Select the data source and then the function you want to perform in this step. To create a function, go to the Function Editor.

If any parameters are needed for this function, click “+” to add a parameter. You can then use Javascript expressions (including data from prior steps) to define the value for this parameter.
If this function returns data, it can be referenced by step#.data in later steps.
Note:
Any user using the custom authentication method that includes a function execution step will need permissions to use the function. Read more about permissions.
Expression
This step allows you to define expressions using Javascript and then use those expressions in later steps. This is helpful for any transformations, calculations or other operations needed to fit to your auth flow.
Click “+” to add a new expression and give it a name. Then use the input area to define your expression.
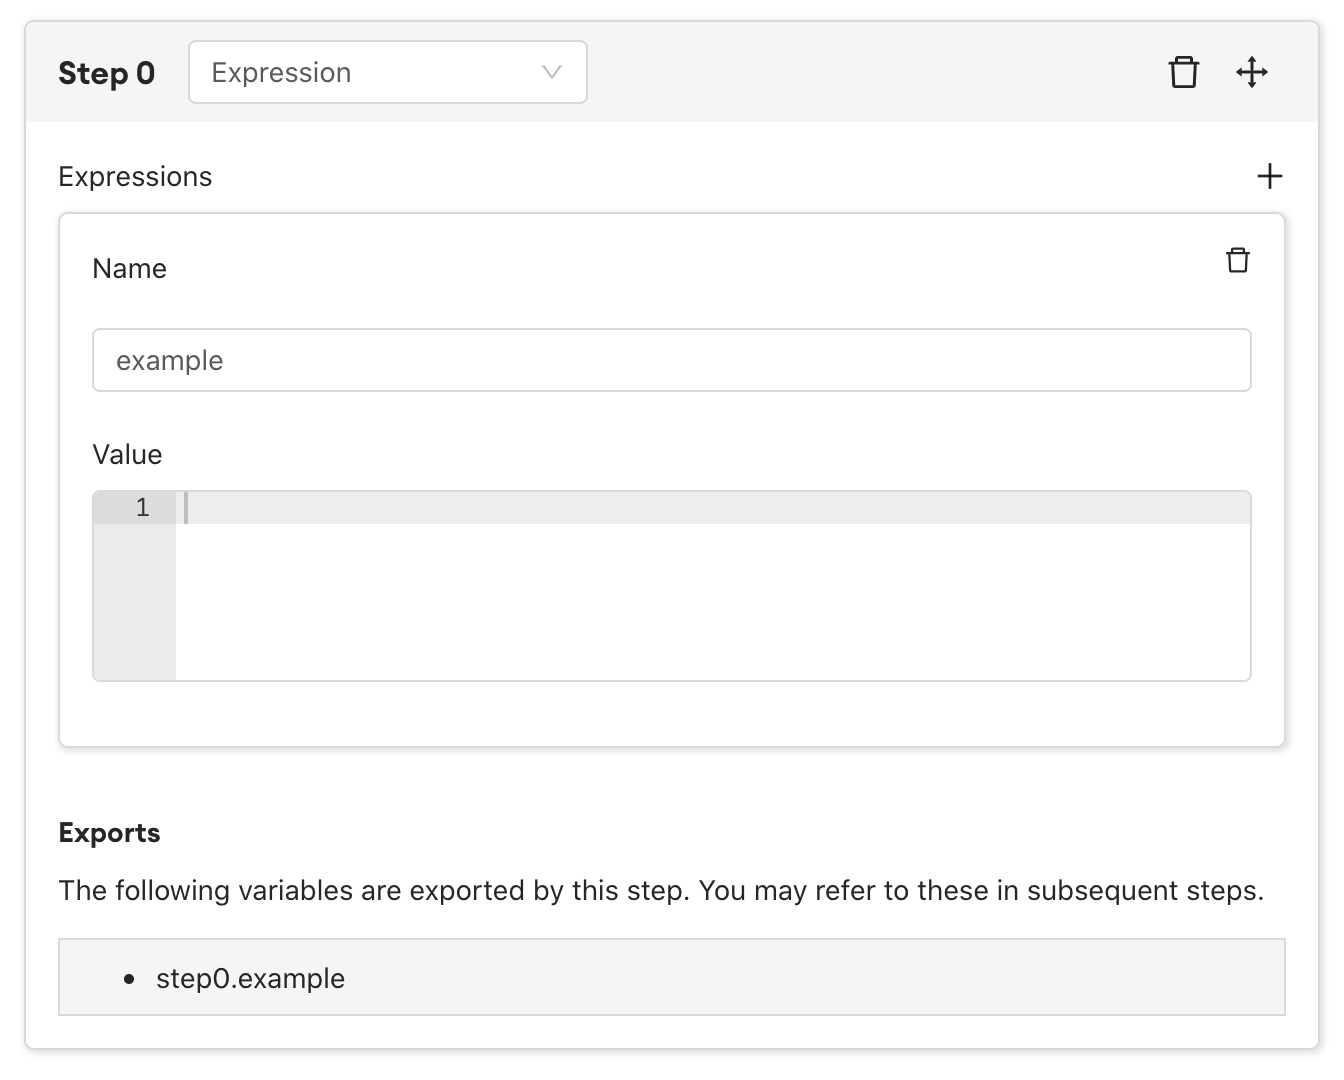
This step will export your expressions in the form step#.expressionName.
Credentials
This step is where you pass the final credentials through HTTP to authenticate.
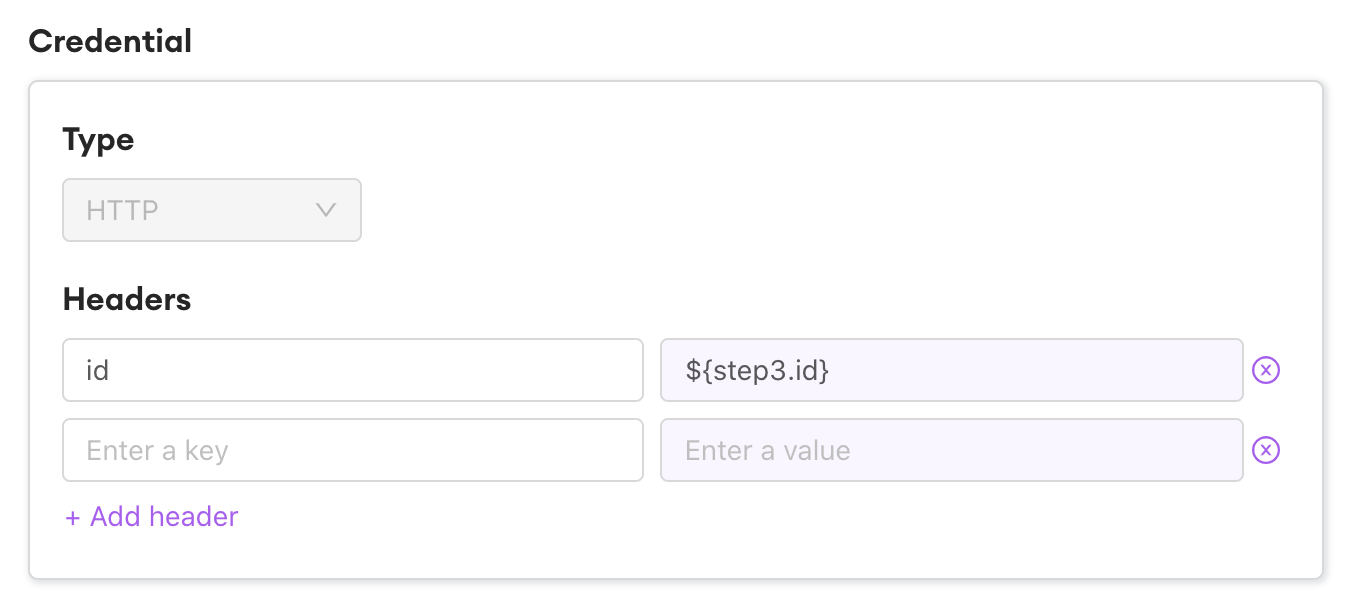
Simply fill in the headers with the appropriate key and value pairs, utilizing any data needed from prior steps.
Example
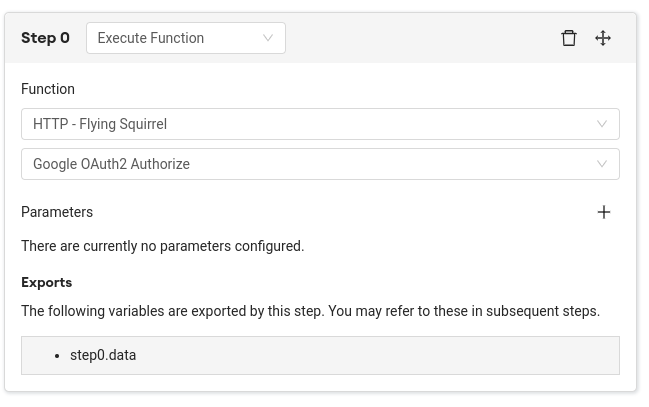
In Step 0, we call a function named Google OAuth2 Authorize. No parameters are necessary for this function. We’ll use the data in step0.data as part of a future step.
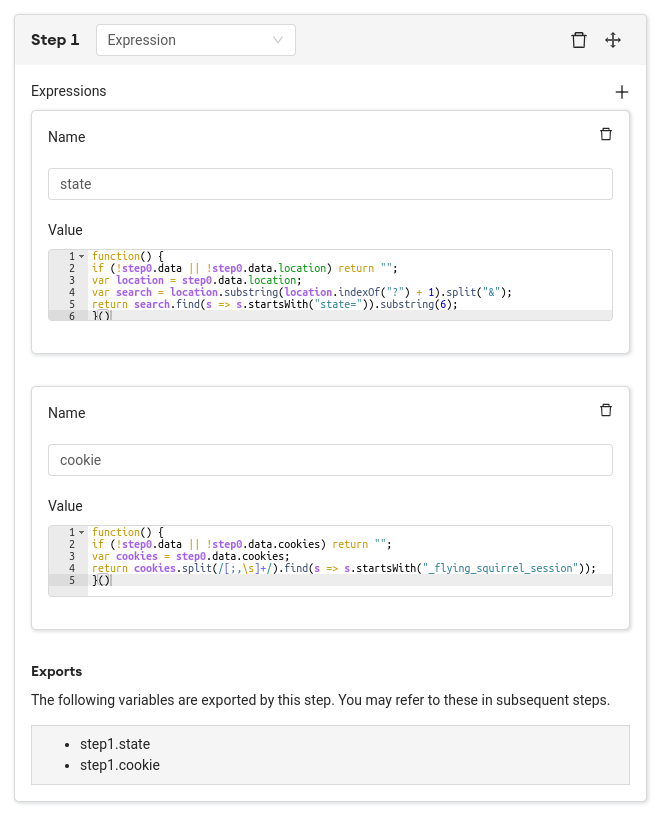
In Step 1, we create two expressions - state and cookie. Note that we use step0.data as part of creating these expressions.
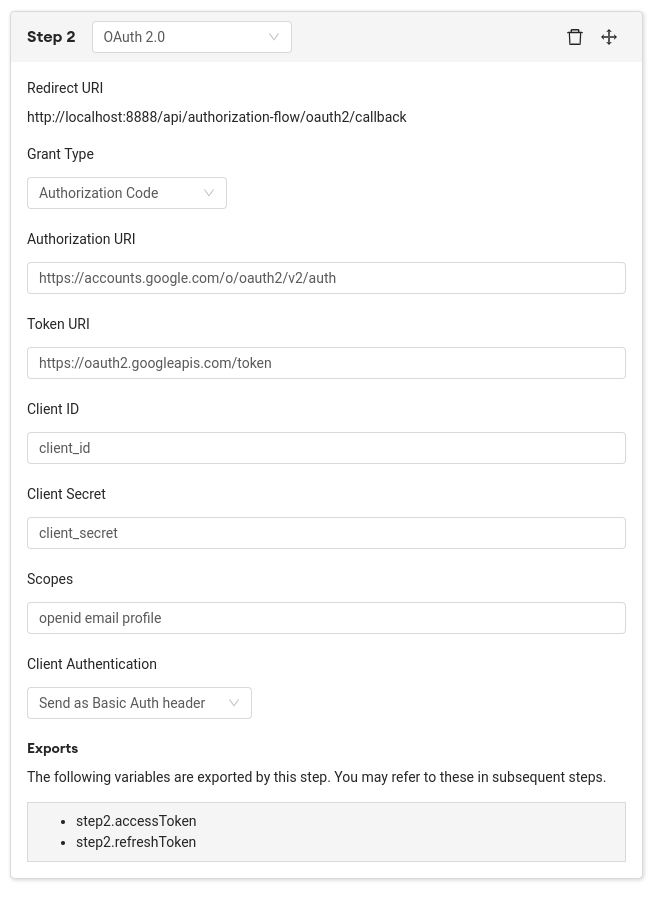
Step 2 is an OAuth 2.0 step. Variables exported here are step2.accessToken and step2.refreshToken.
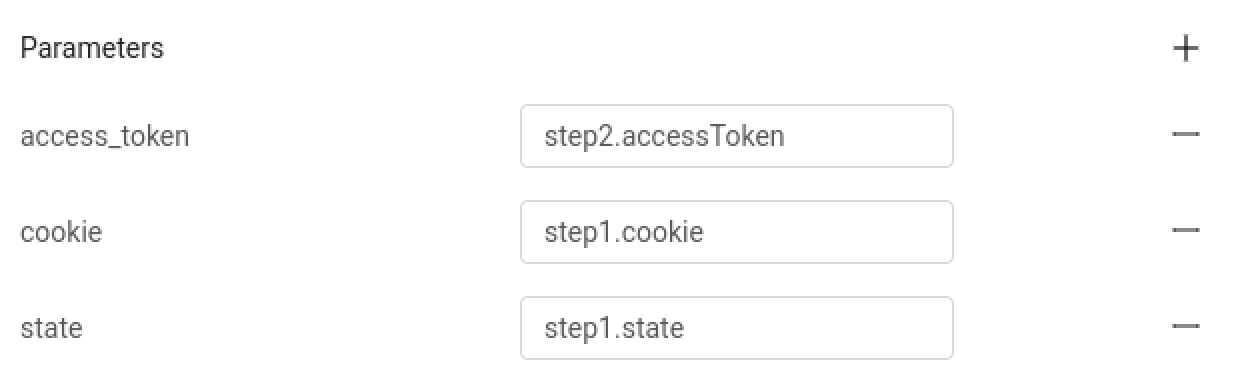
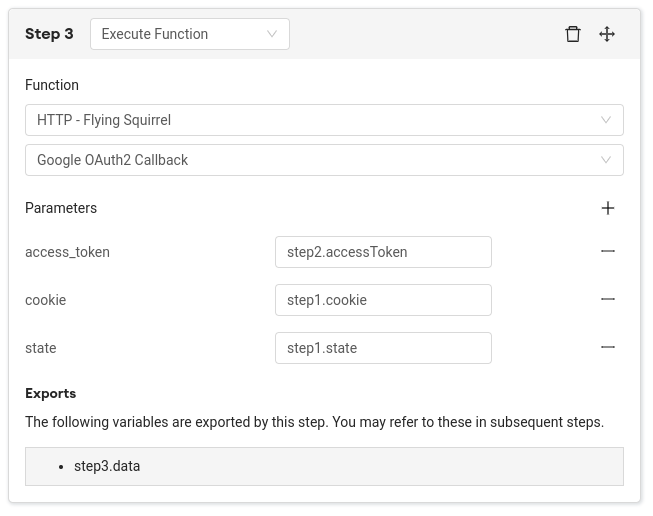
Step 3 is another function, similar to Step 0. In this case we’re calling the Google OAuth 2 Callback function, using variables from both Step 2 (accessToken) and the Step 1 expressions (state and cookie).
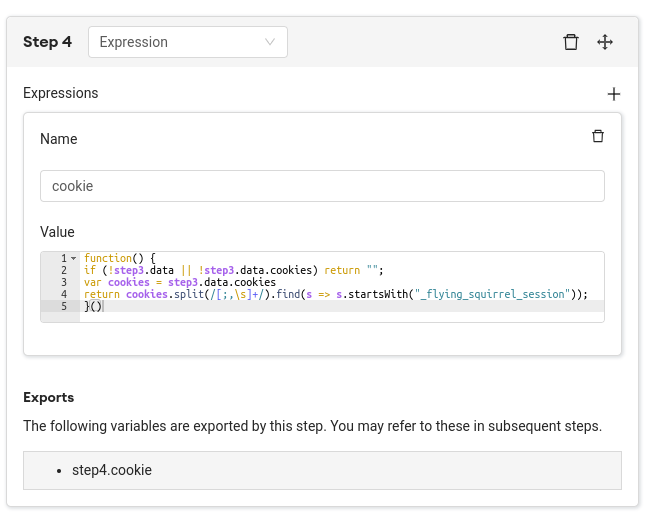
In Step 4, we create another expression called cookie. This utilizes the data exported from Step 3. Ultimately, we’ll use the cookie here to finally authenticate.
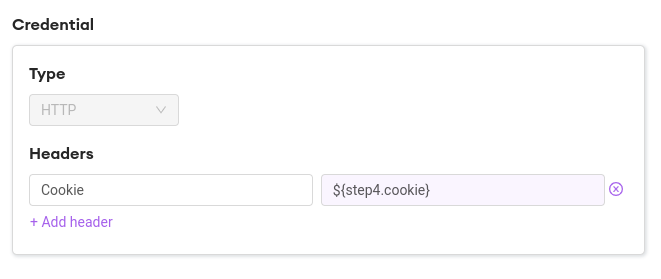
In Credential, we pass along the cookie from Step 4 in the headers.
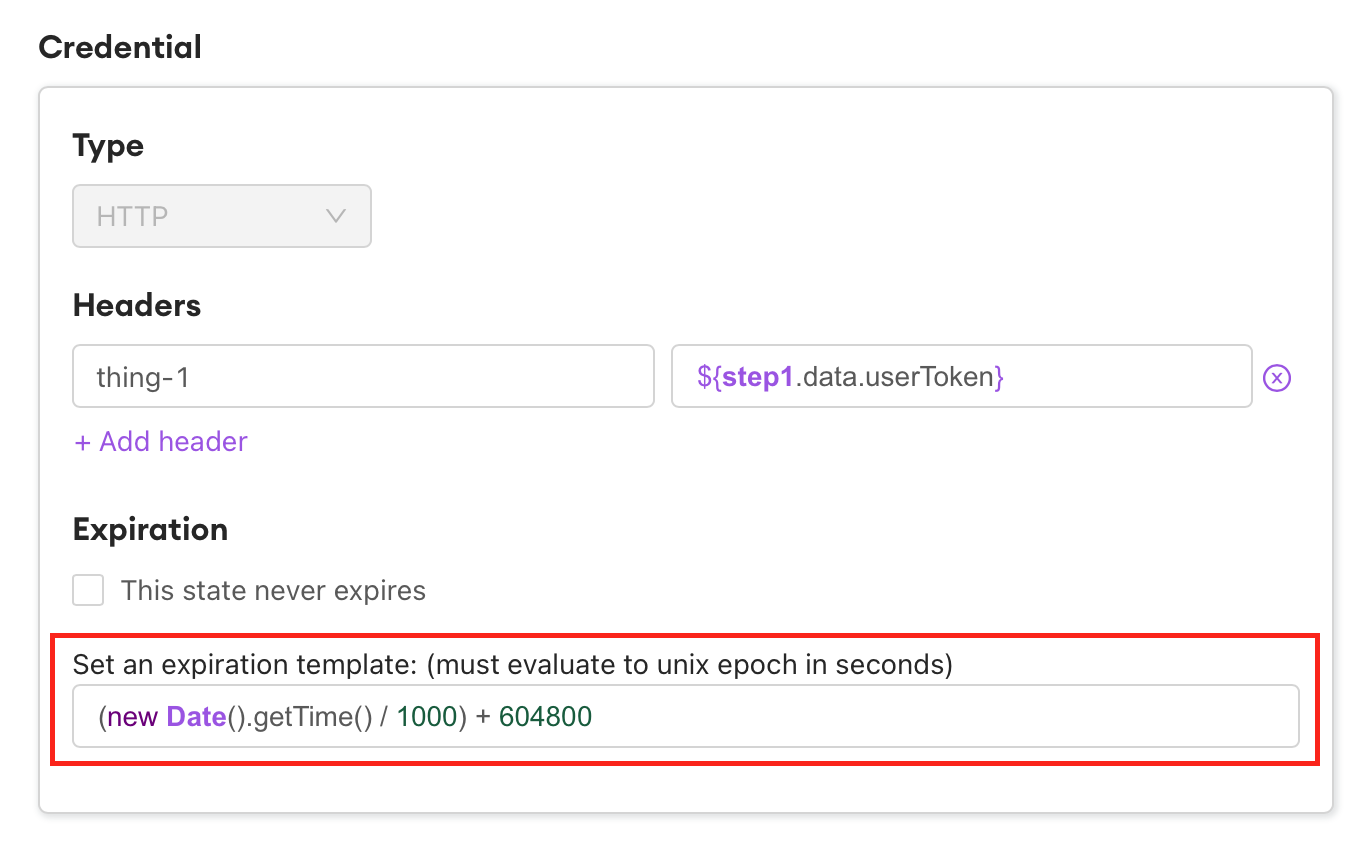
Note:
If you intend to provide a custom expiration for the state provided by your headers, it must be in EPOCH time. In the example below, we use javascript to evaluate the header-transmission dateTime and add a bit of time to the expiry, all in epoch time.
Updated about 1 year ago